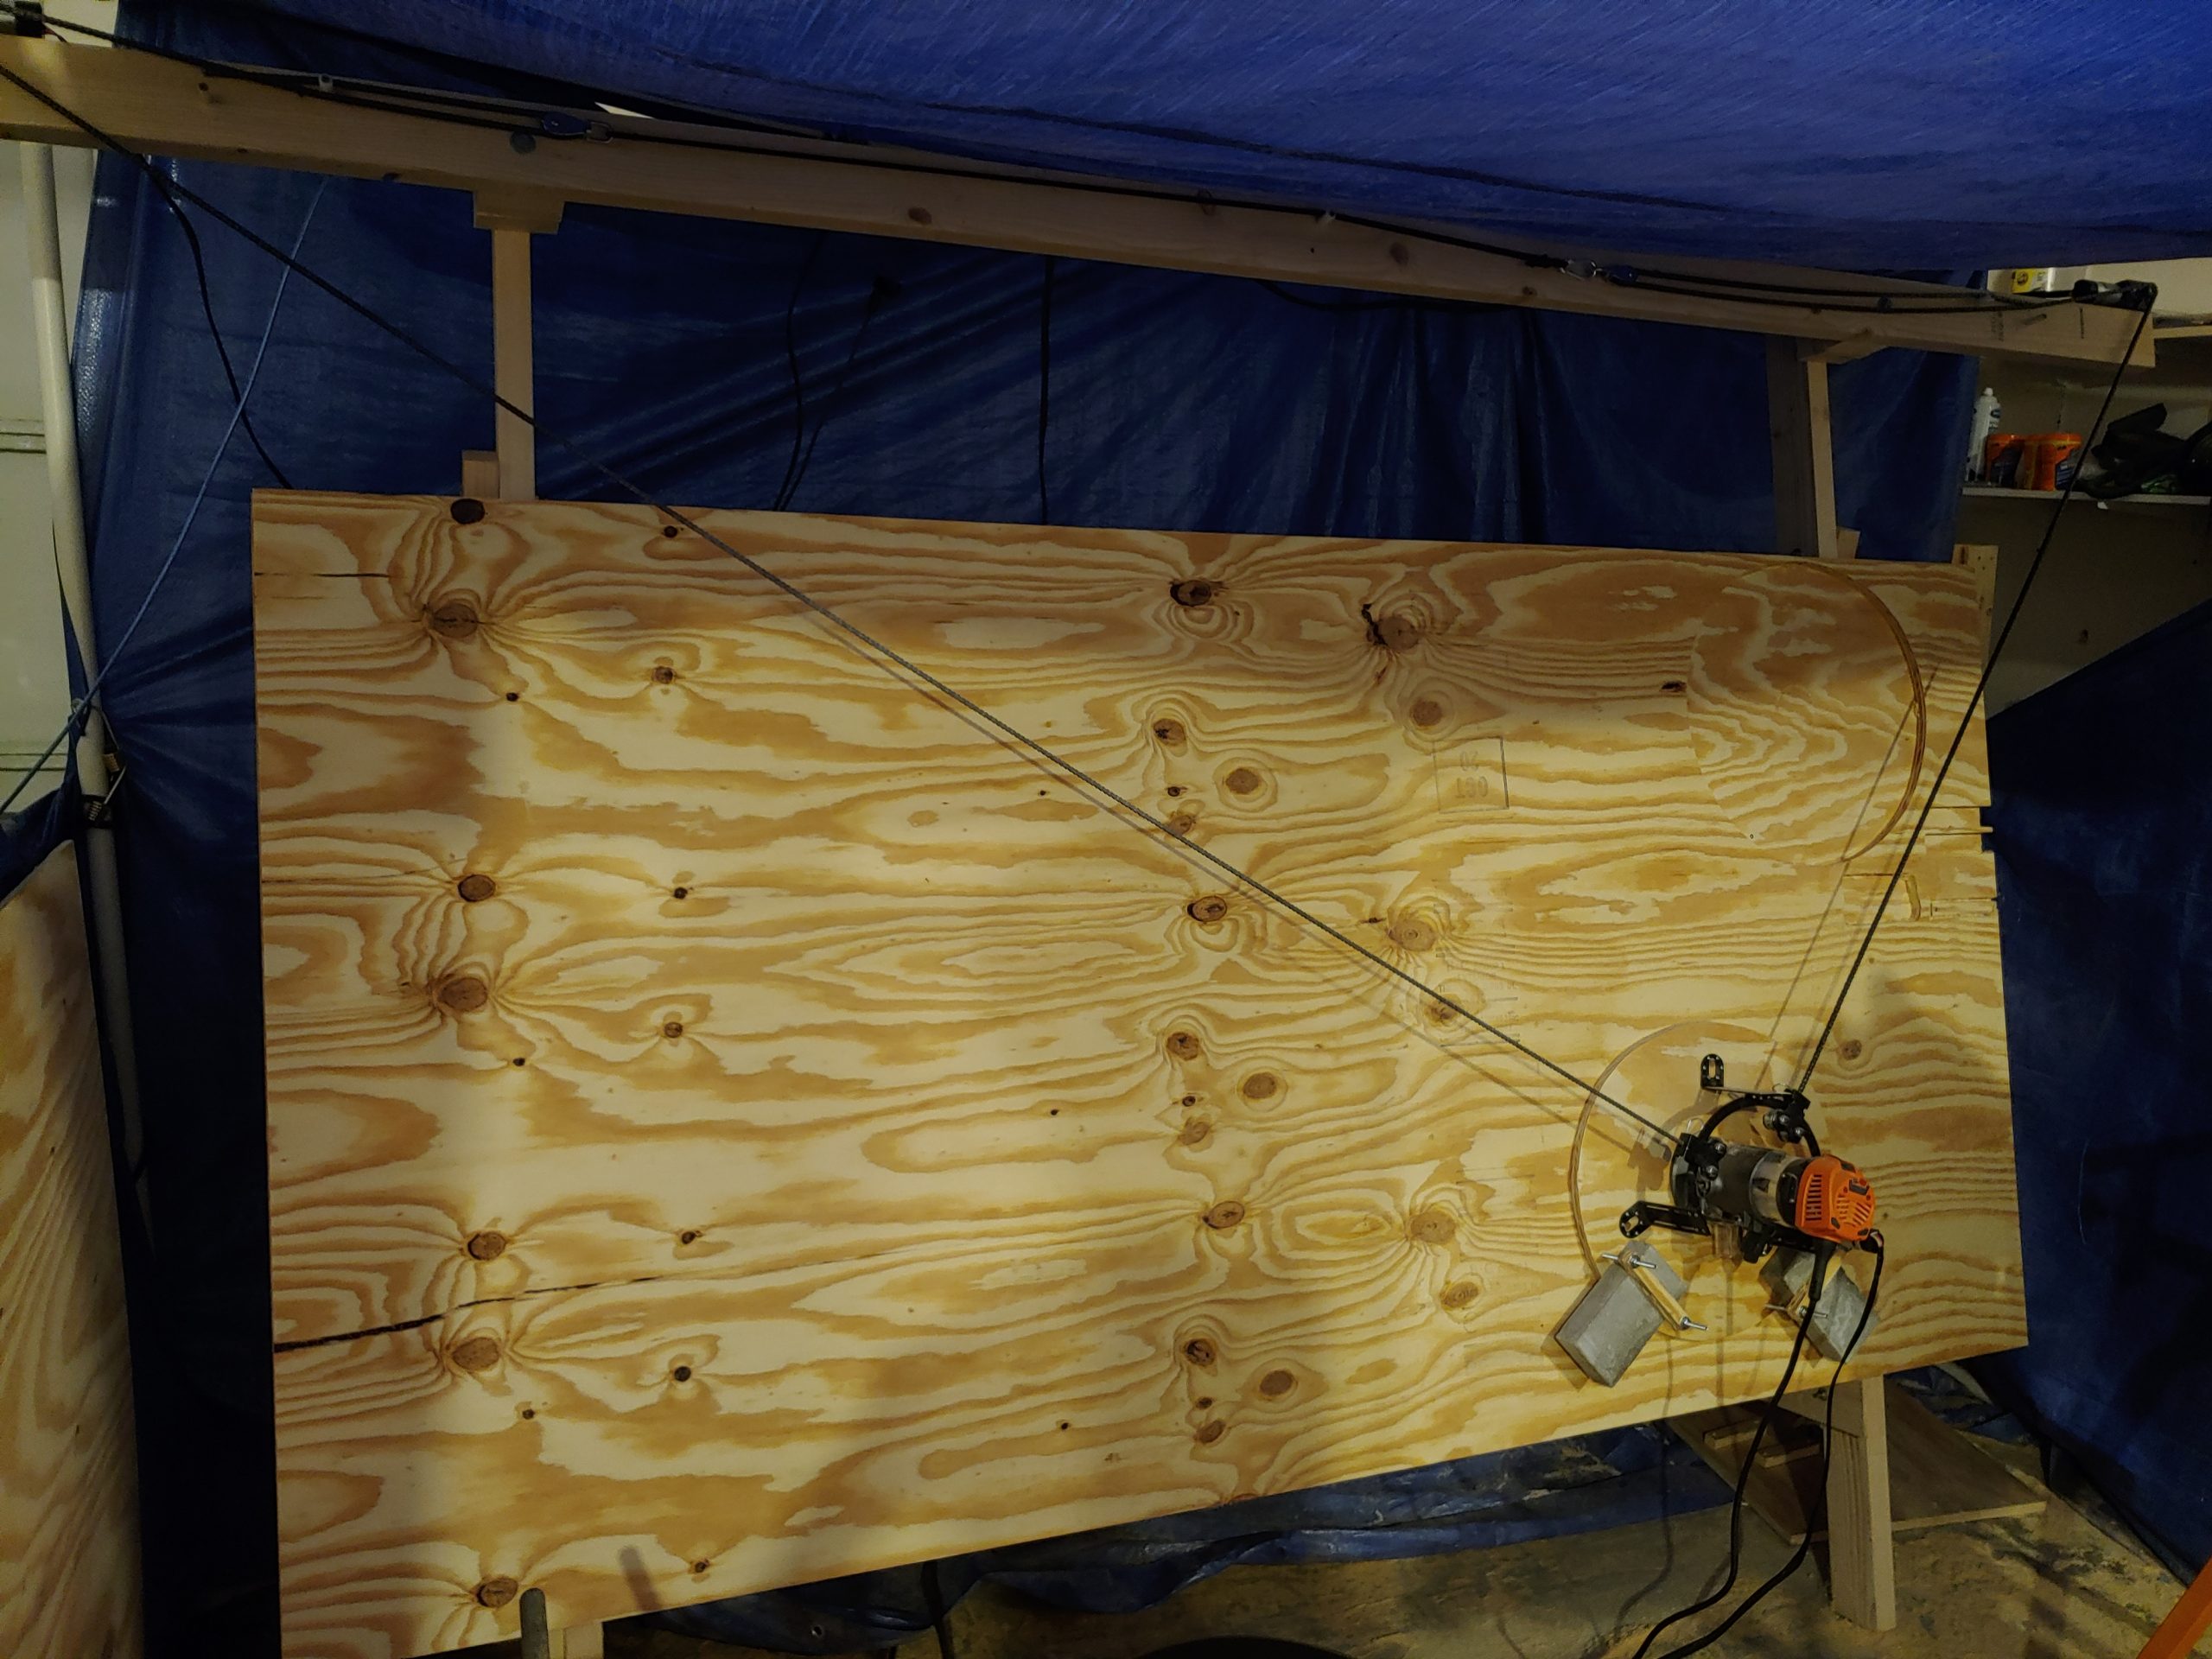
At the beginning of the year I purchased a Maslow CNC machine. For those who don’t know, Maslow is an open source CNC design that was developed as a lower cost alternative to some of the standard CNC machine types. It’s a really DIY machine and it took awhile to set up, but it’s finally up and running. The frame isn’t terribly difficult, but it’s definitely a two man job to put together. The biggest difficulty, though, was the firmware. We had some Z axis trouble originally. Everything would move except for Z. To remedy this, we first tried flashing different firmware variants, since one thing I’ve learned from 3D printing is that if there is a problem with an axis, it’s probably a firmware problem. At this point, the machine started acting really strange though, like moving in different directions immediately when plugged in. It turns out that EastBaySource (one of three companies who sell Maslow kits) had pivoted to using a TB6643 control board. This is not a standard board, at least not standard among most Maslow kits. The firmware that is listed on their website is modified to work on this board. This means that standard firmware, including the popular Holey firmware, is not compatible out of the box. Once we realized that this was an issue, we reverted to using the seller provided firmware. This still left the Z axis problem. I was digging through the source code when I noticed that the Z axis had a disabled option. I backtraced through the firmware and found that a Gcode command from the control computer was sending it. And that’s when it hit me – this whole issue must be because the UI on the control computer has a setting to disable the Z axis. I went digging through the settings and, sure enough, found that the Z axis was disabled by default. No idea why that would be the case, but here it was. I also found out that the EastBaySource version of GroundControl (the UI for controlling Maslow) had the Z axis enabled by default. Since I was using WebControl (a newer UI for controlling Maslow) that I pulled from another site, it wasn’t enabled by default. Turned that on and it all started working.
All in all, I’m very impressed with the machine. The design is pretty great. It has a smaller footprint than tabletop CNC machines so you can fit it in a smaller area and the cost is significantly lower. It is VERY DIY though. So if you are looking for something to “just work” straight out of the box, you will be disappointed. There are also a few shortcomings in the original schematics. The biggest one is the ability to CNC around the edges of the board you are cutting. It can’t handle close to the left, right, and bottom edges very well. I’ve seen some great ideas to solve this online though and this is probably where I’ll head next.
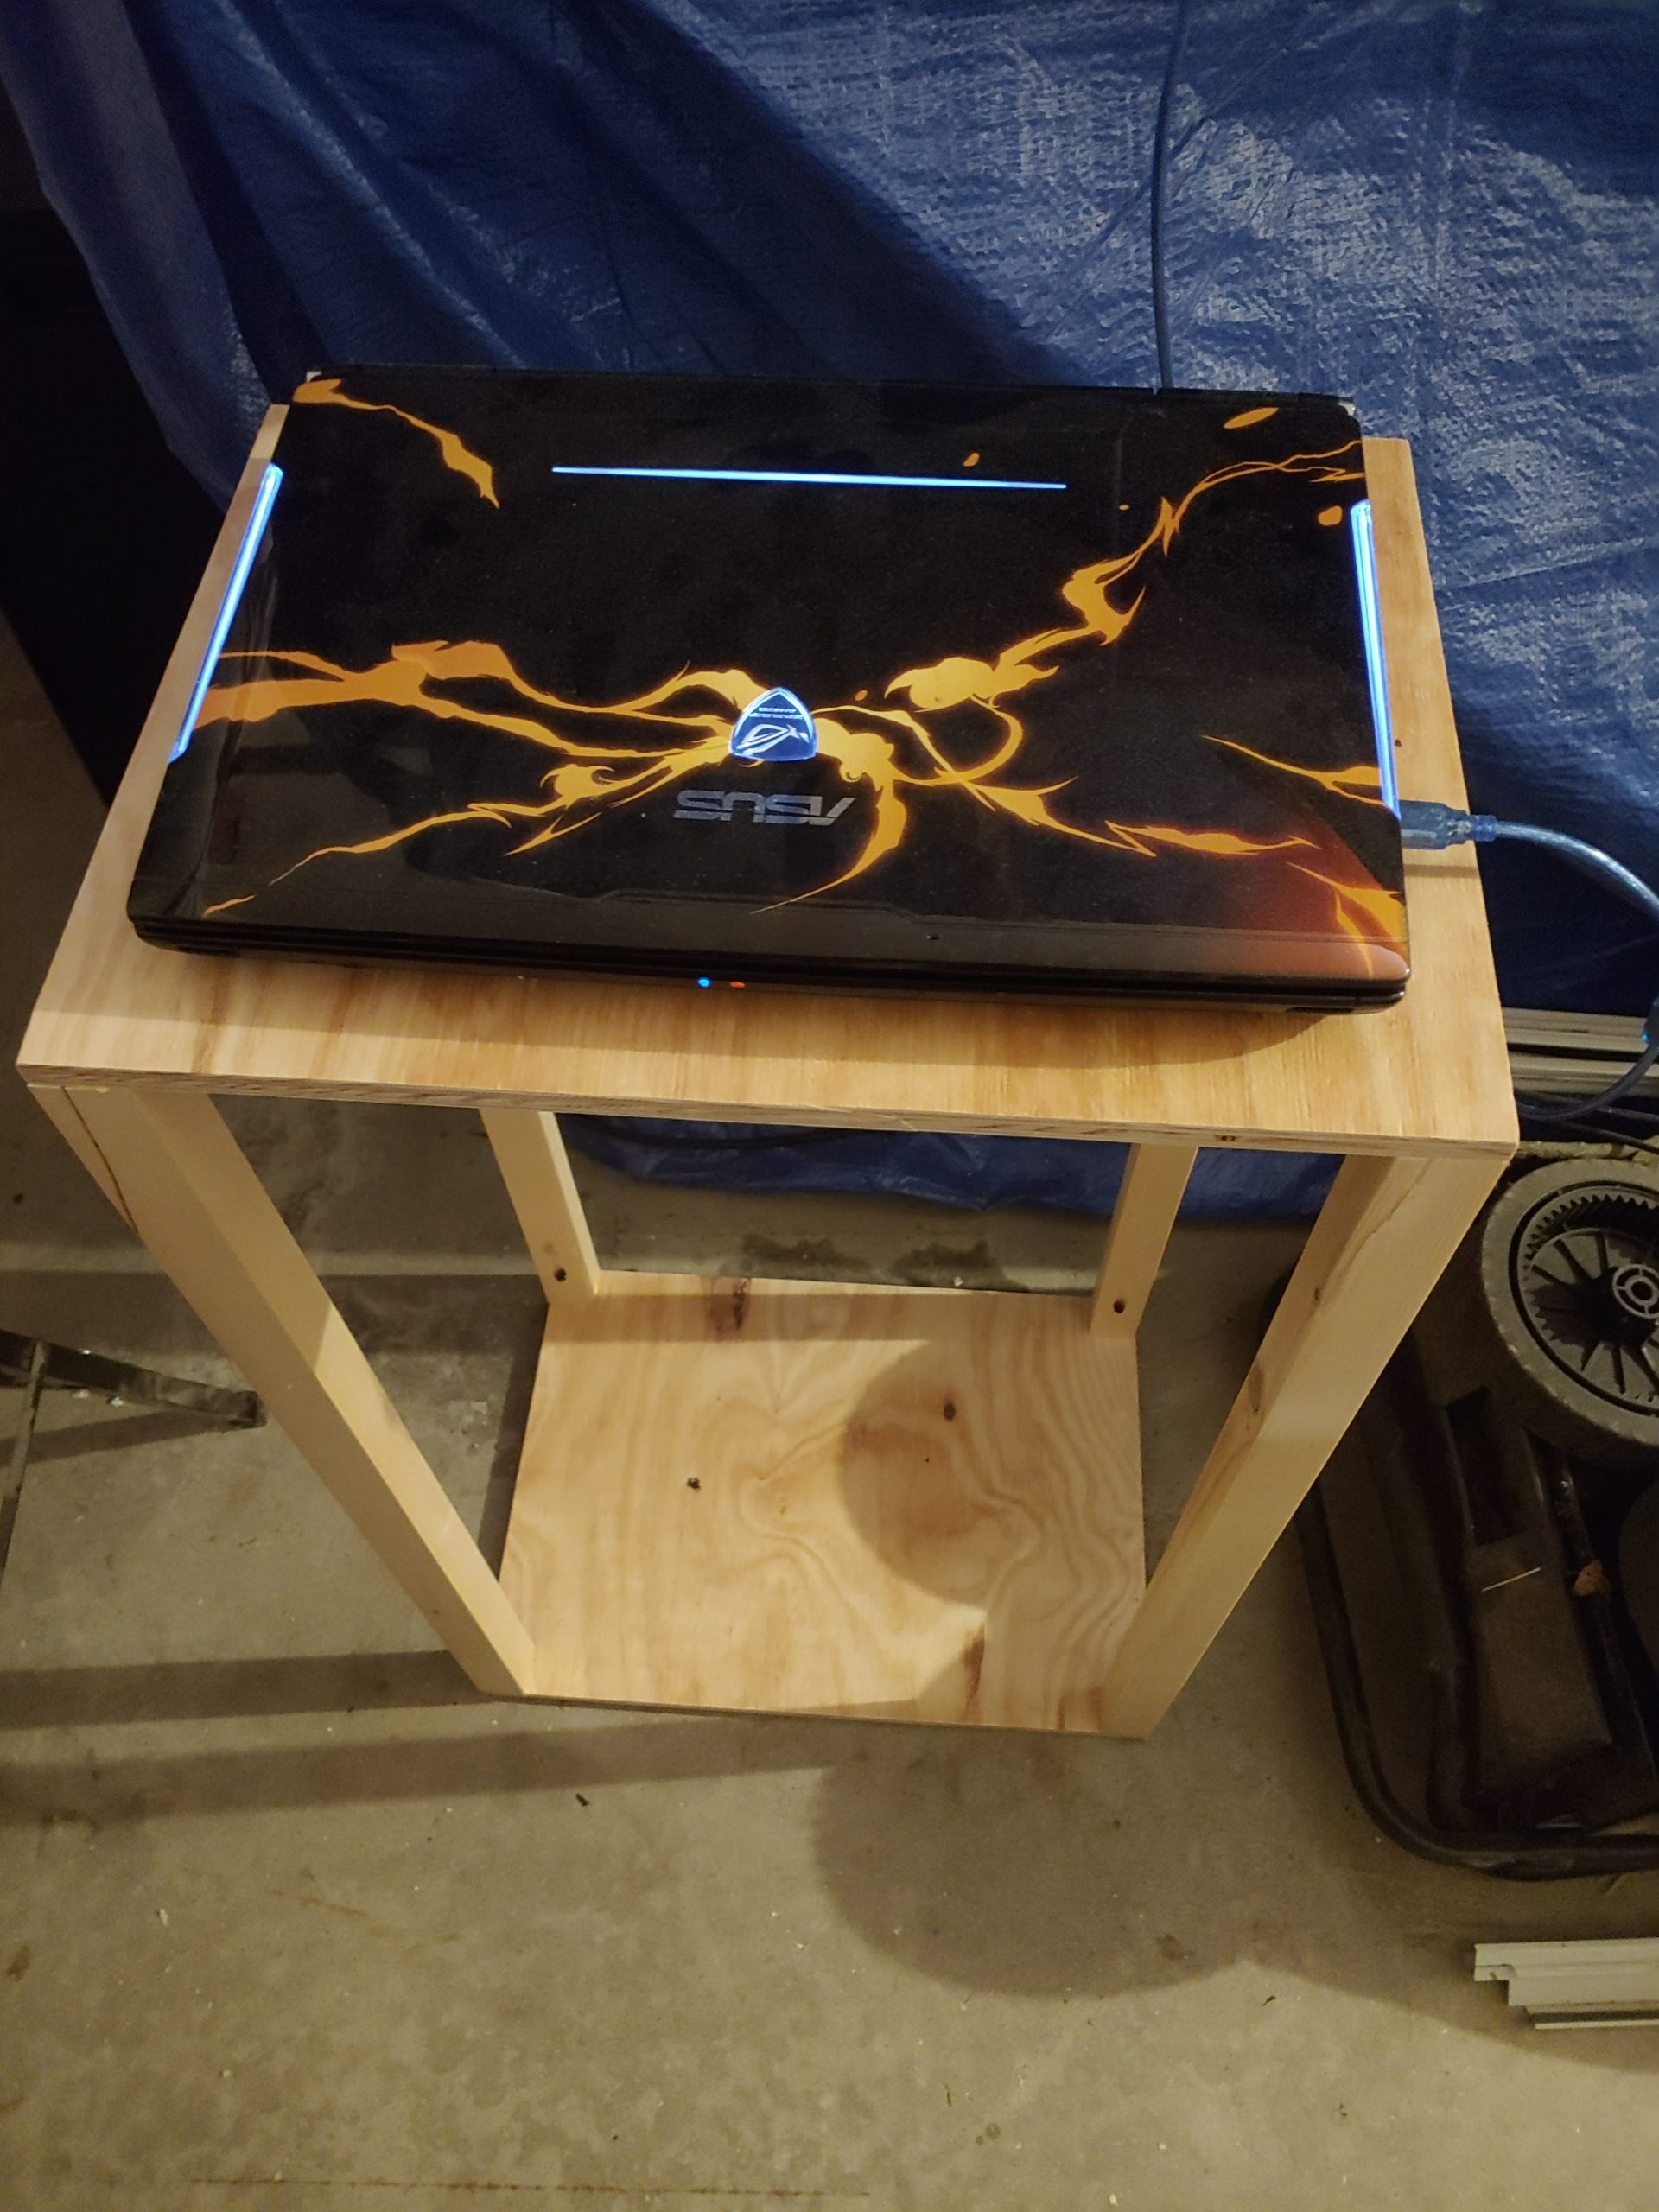
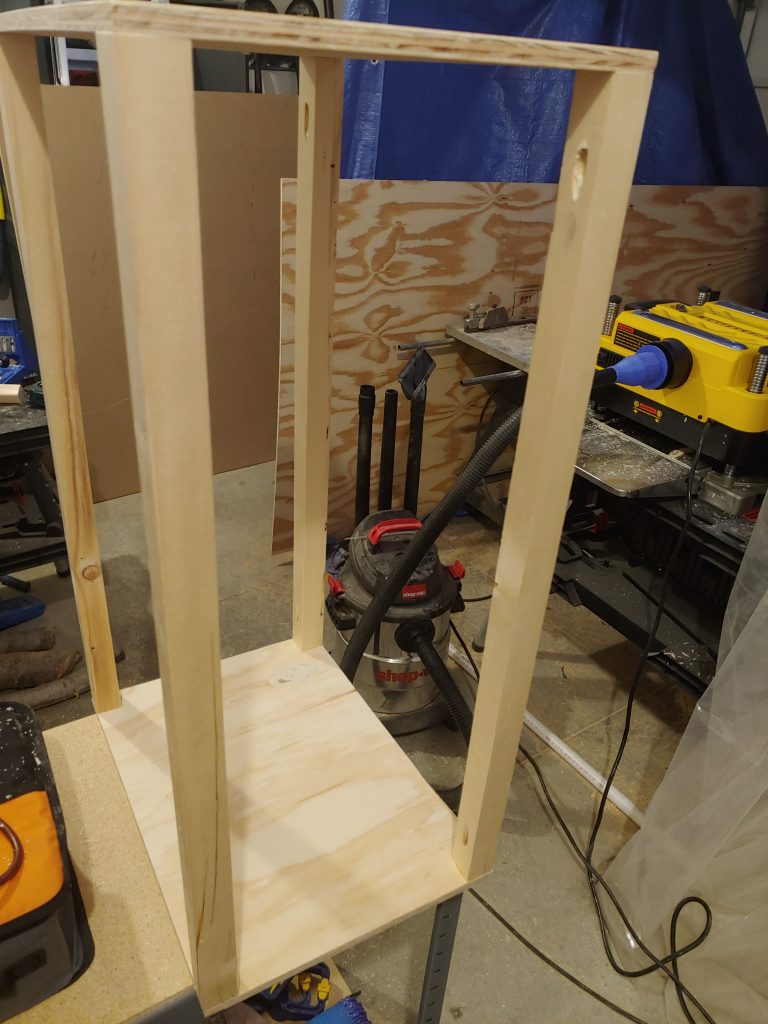
The other upgrade that I would suggest is using WebControl instead of GroundControl for managing the CNC machine. GroundControl has to be on a laptop, whereas WebControl could be loaded onto a RaspberryPi and remotely controlled since it hosts a website. I ended up balancing the onsite control with remote control by using WebControl, but putting it on a laptop so that I can control it onsite easily, but also monitor it remotely and upload Gcode from my desktop similar to OctoPrint or Repetier Server. The last task I had to solve, was to find a place to put an old laptop out in my garage. I ended up making a small laptop stand, which also gave me a chance to practice with pocket holes 🙂
